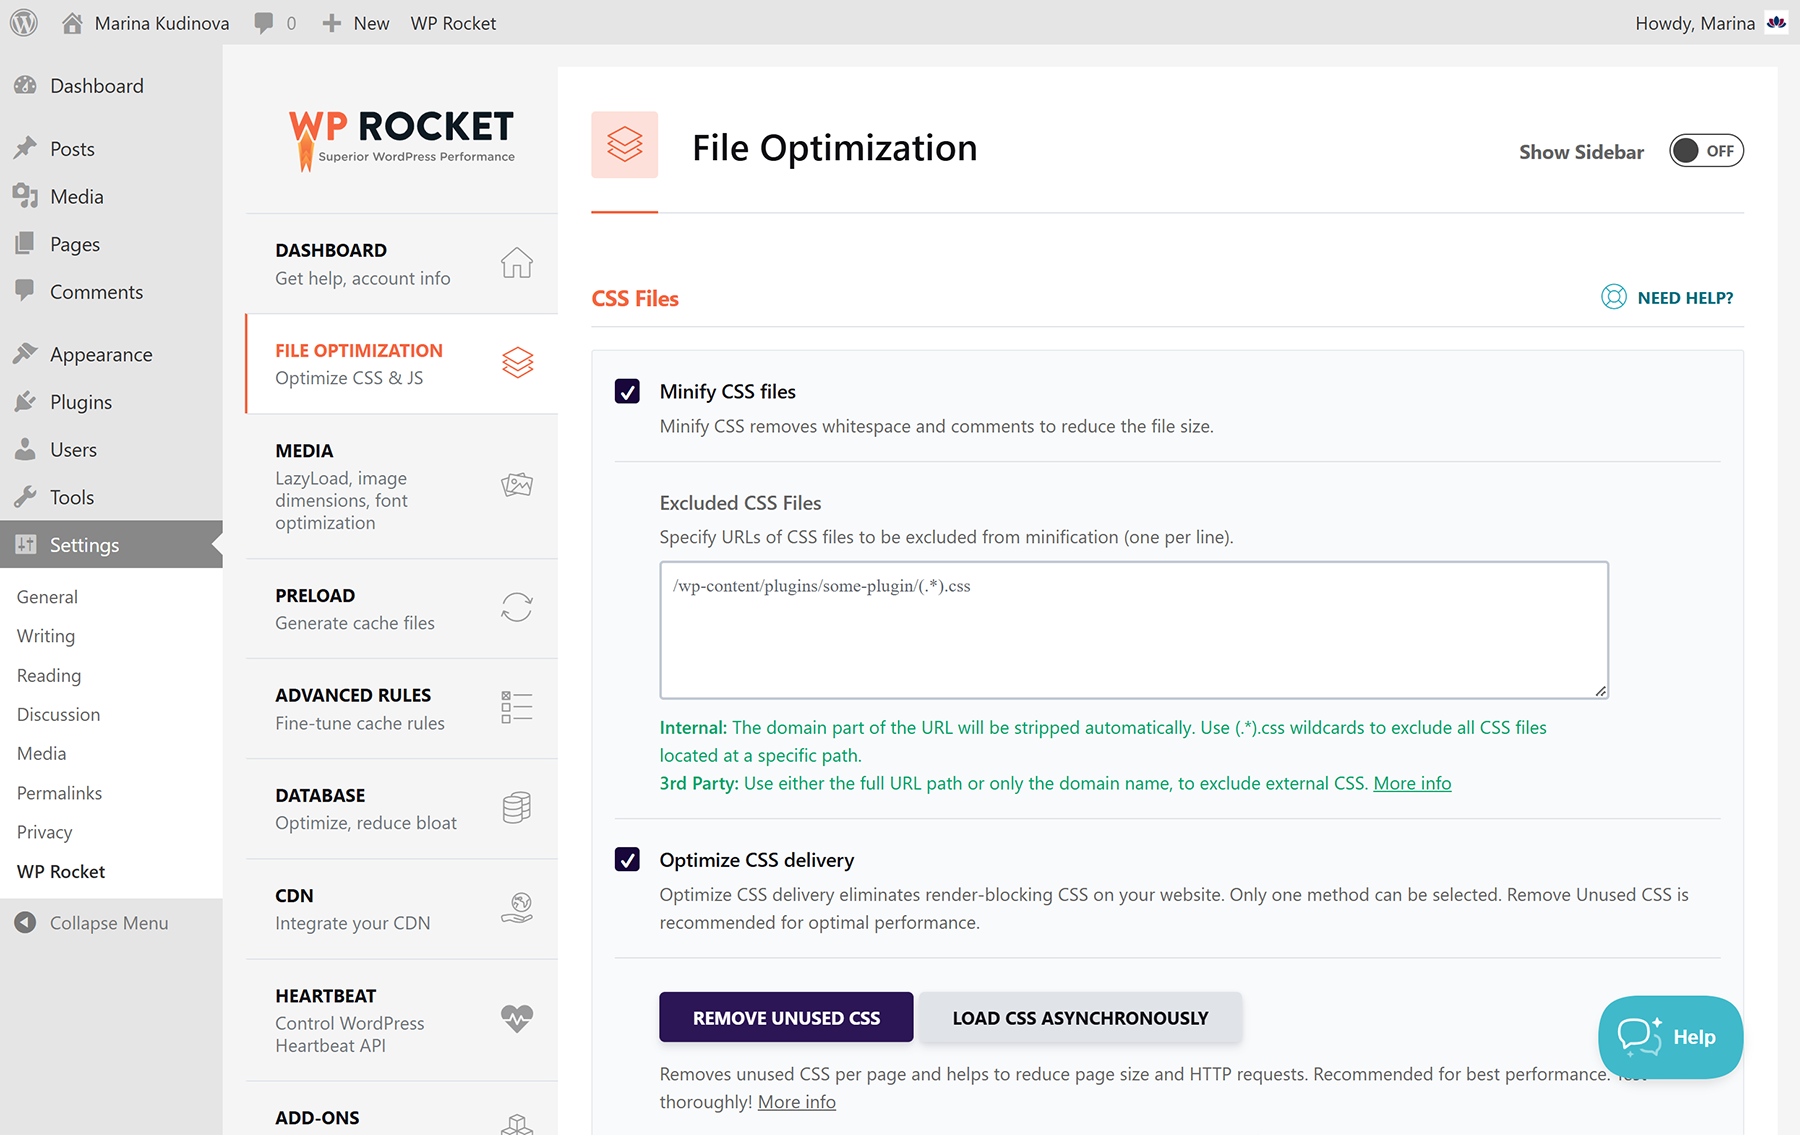
This post covers my tried-and-tested selection of the best must-have WordPress plugins for key tasks such as image compression, backup and migration, on-site SEO, website security, and performance optimization. The plugins featured here are Imagify, UpdraftPlus, SEOPress, Yoast SEO, Wordfence, and WP Rocket. After experimenting with many popular options, I narrowed it down to this refined list. Below, I share short descriptions of my favorite plugins along with a bit of practical advice on using them effectively. And at the end, you’ll find a summary table that provides a clear overview of all recommended plugins.
Imagify: image optimization, free, subscription
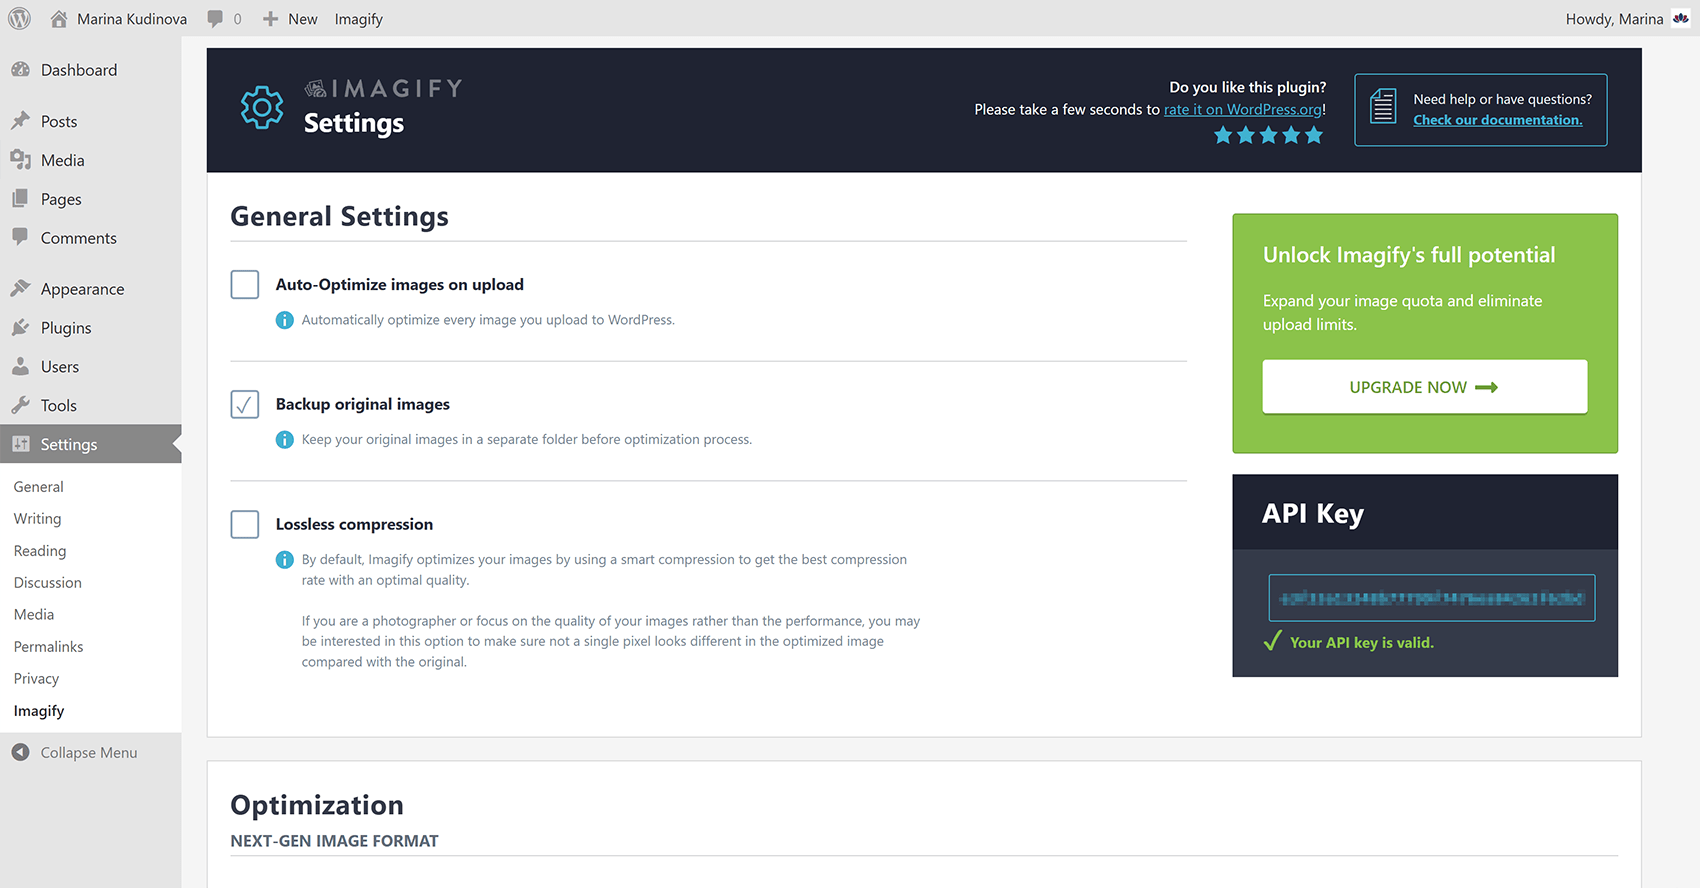
Imagify, which has over 1M installs, is my go-to image optimization plugin thanks to its rich feature set, powerful algorithms, and clear user-friendly interface. Imagify supports compression of JPG, PNG, GIF, and PDF files. The plugin allows you to: generate the next-gen WebP and AVIF formats and serve them on the front end, apply either Smart (best quality/performance balance) or Lossless (no visible change) compression, and optimize images in bulk, automatically on upload, or manually one by one. It also lets you restore original images, exclude thumbnails, optimize theme images, and much more. Imagify works seamlessly with most gallery, slider, and image plugins.
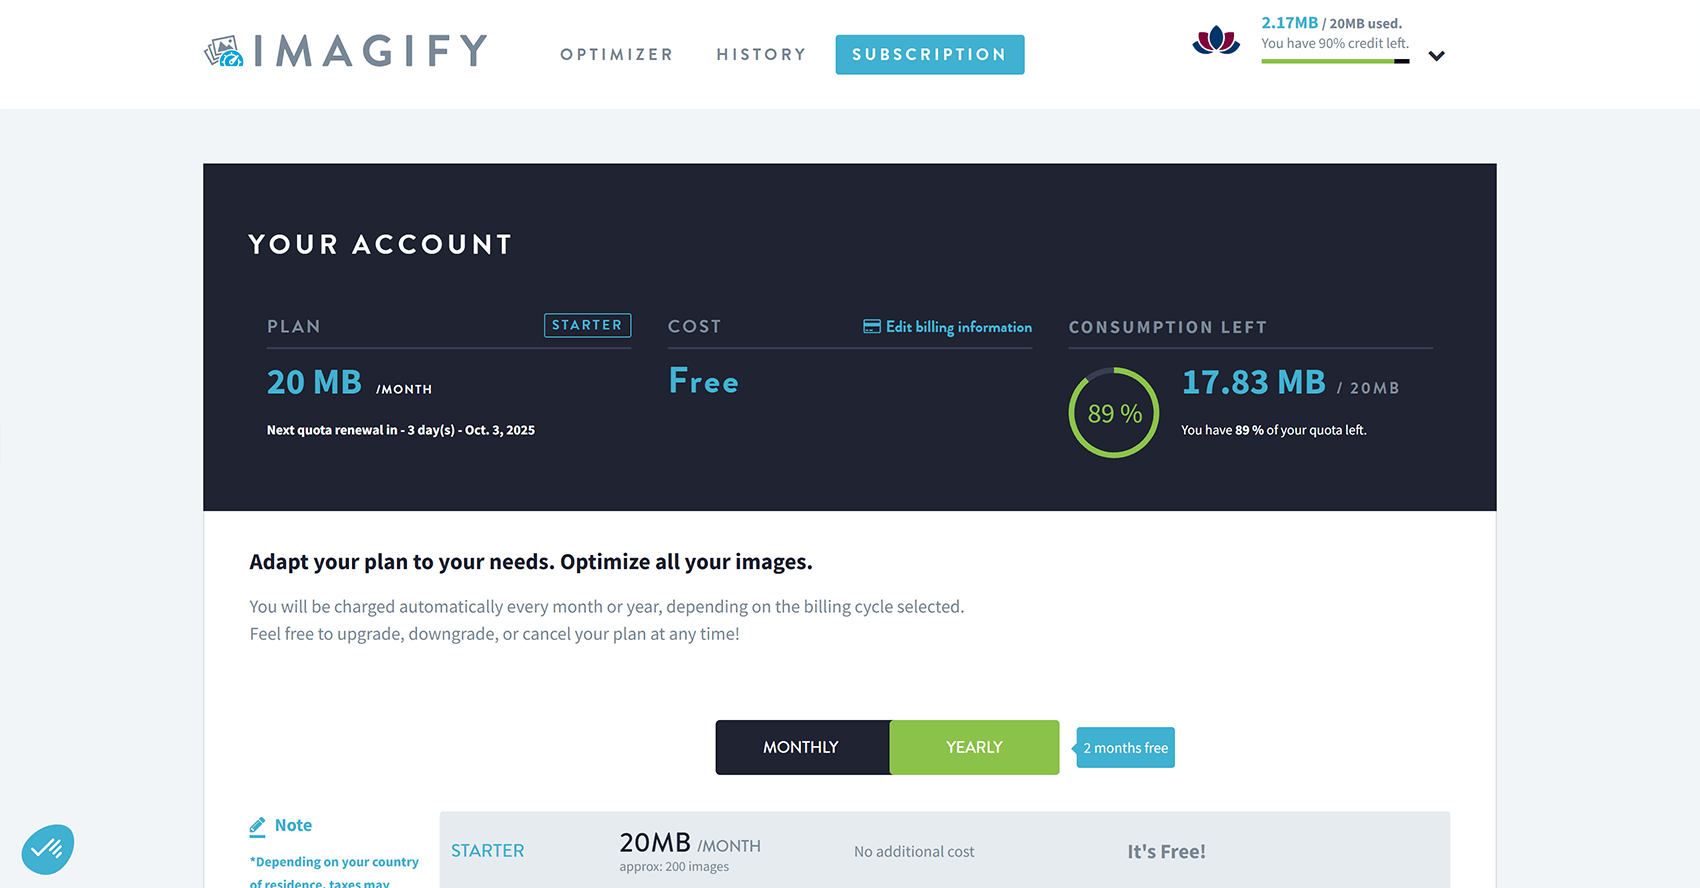
The free Starter plan includes 20MB per month (roughly 200 images). To make the most of it, I recommend disabling the “Auto-Optimize images on upload” option under Settings > Imagify and only optimizing the final versions of your images individually. You can also save quota by excluding certain thumbnail sizes from optimization on the same settings page. The full list of image thumbnails displayed there, generated by your theme, plugins, and WordPress itself, is a handy piece of information that’s often difficult to find elsewhere.
Unlimited sites, Imagify pricing plans, upgrading and downgrading, and quota usage
You can use Imagify on any number of websites, no matter which plan you choose – free or paid. To connect a site, you just need to enter a special access key (API token) provided in your Imagify account. The plugin asks for this key or offers to register right after installation. If several sites are connected to your Imagify account, your monthly MBs are split equally among them.
Hence, if you need to optimize more than 200 images per month, Imagify offers several flexible pricing plans. The Monthly Growth subscription at $5.99/month is the most practical option, providing 500MB per month (i.e. around 5000 images). You can easily downgrade to the free Starter plan or upgrade back to Growth on a month-to-month basis. For ongoing use, the Yearly Growth plan at $49.90/year is a better deal. For heavy users, Imagify also offers Infinite subscriptions for $11.99 monthly or $99.90 per year.
And to fully cover the spending side, here’s a bit about quota consumption. Quota usage is calculated from the original size of an image before compression, plus the original size of all its thumbnails selected on the Imagify settings page, regardless of how much space the optimization saves. Note 1: If you first optimize an image with Smart compression and later re-optimize it with Lossless, the quota will be deducted twice. Note 2: If you restore an image, the quota will not be refunded.
How to serve WebP image versions on the frontend
Imagify can both create next-generation WebP and AVIF versions of your images and serve them on the frontend. These two features work independently – you can generate modern formats with Imagify and deliver them using another plugin.
Below are three common ways to serve next-gen images in WordPress:
Method 1 (recommended): using rewrite rules (via Imagify)
This method adds rules to your .htaccess file to serve WebP or AVIF images without changing your site’s HTML. It works well on Apache servers but may fail on Nginx due to restrictions, or when using Cloudflare/CDN. If issues occur, your hosting support can usually fix it by adjusting server settings. Also, check out Imagify’s My images are broken guide.
Quick check: right-click an image, choose “Save image as…”, and see if WEBP appears in the file type.
Method 2: using ‹picture› tags (via Imagify)
This method replaces ‹img› tags with ‹picture› tags to deliver WebP images. It works in most browsers but can cause layout issues depending on your theme or plugins. If that happens, refer to the same Imagify guide linked above.
Method 3: via caching plugin (e.g., WP Rocket)
Here, Imagify generates WebP files while WP Rocket handles delivery. WP Rocket updates cached pages to reference the WebP versions automatically. Since both plugins are developed by WP Media, they’re fully compatible.
UpdraftPlus: backup and migration, Free, Premium
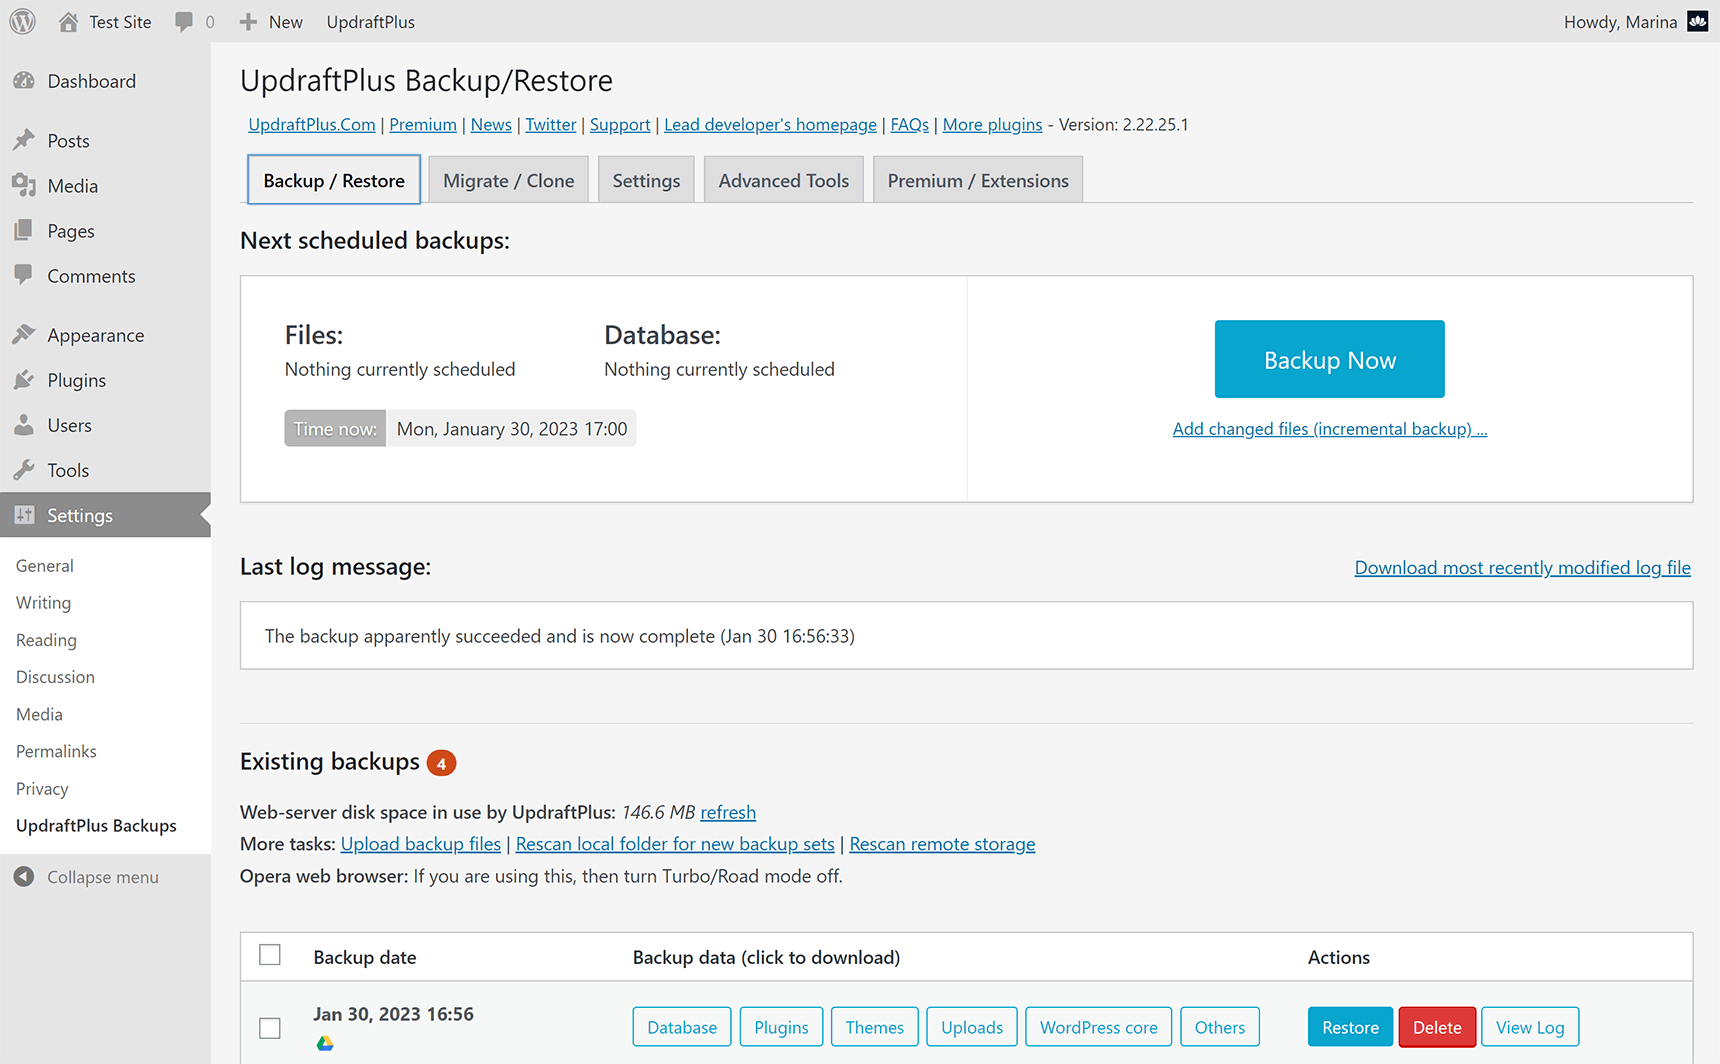
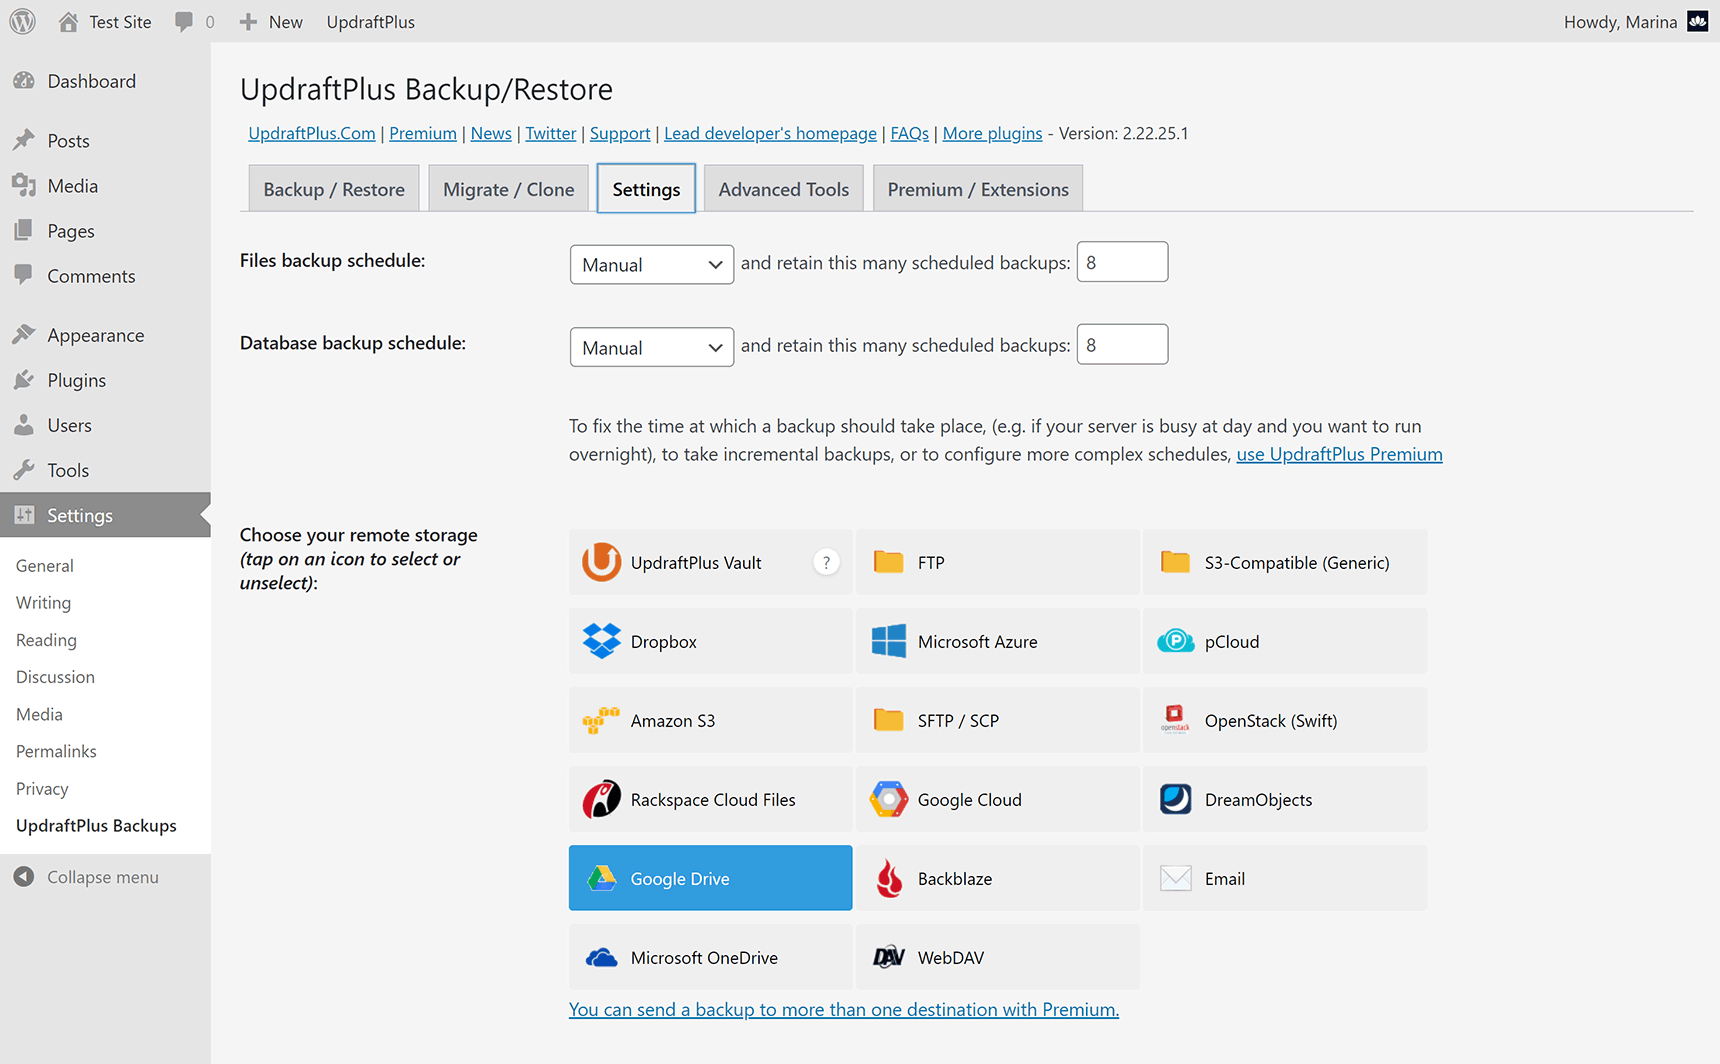
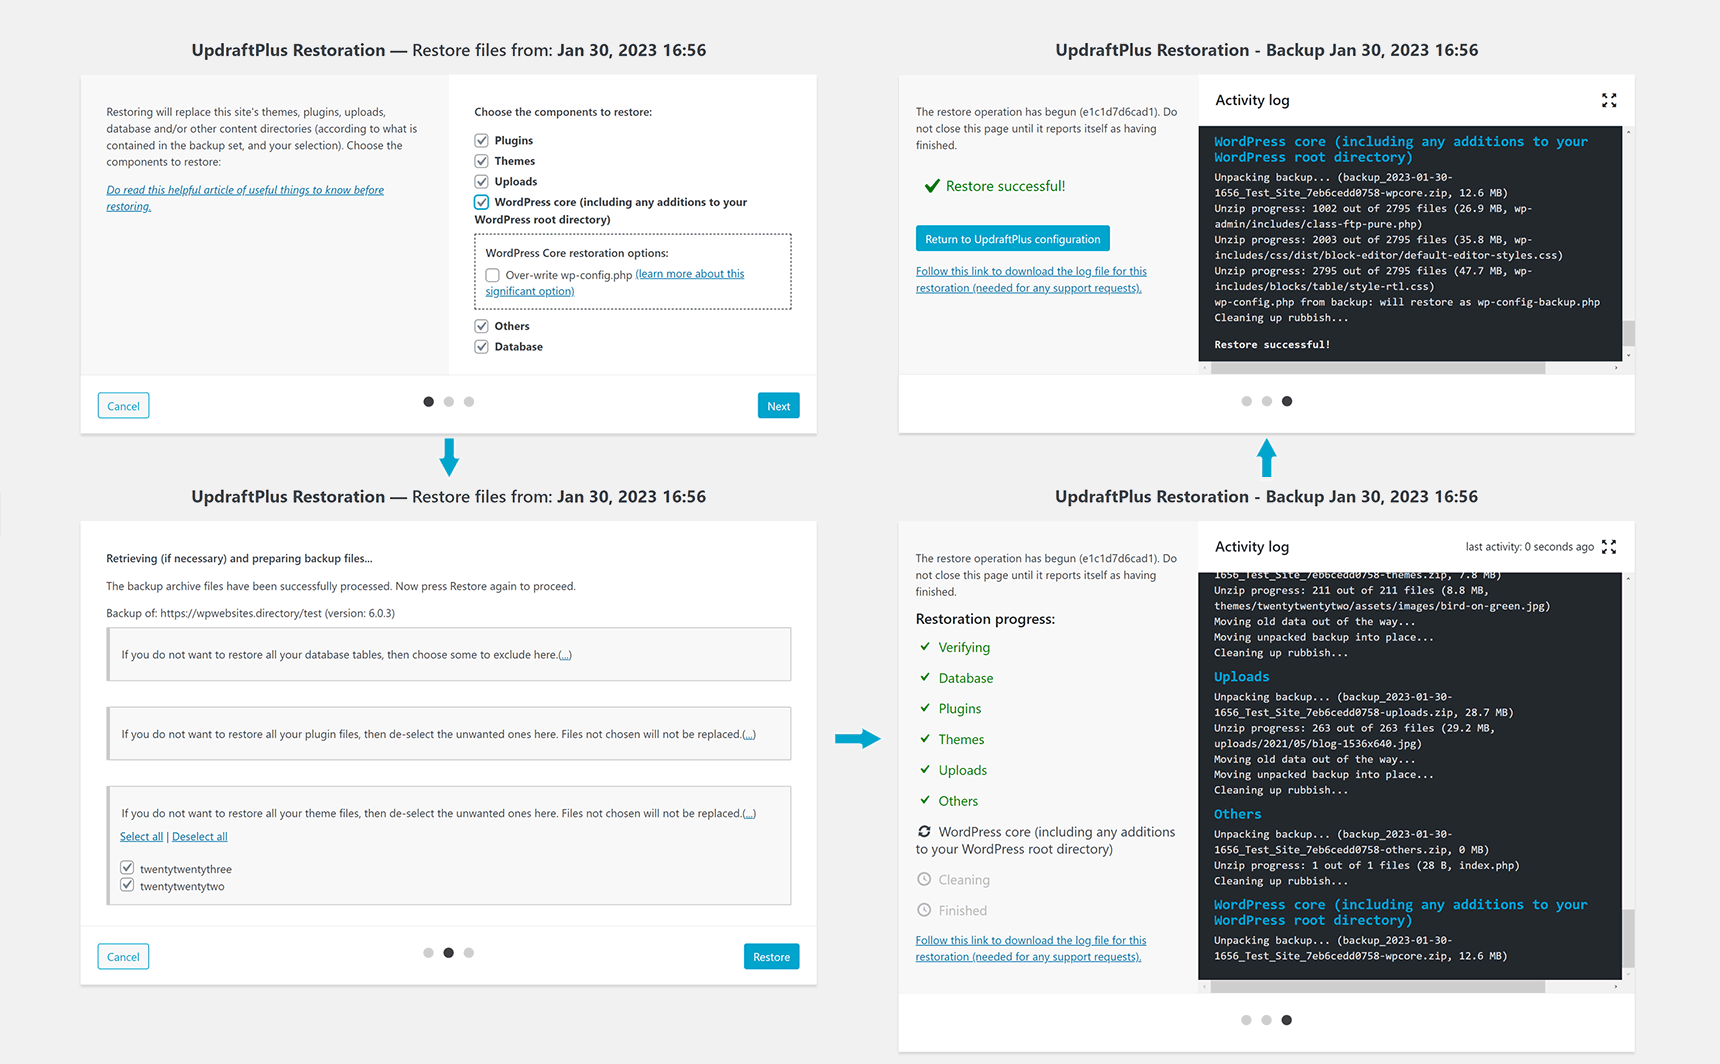
UpdraftPlus is my favorite backup plugin for WordPress and the second most popular “Backup Migration Plugin” according to the WP Awards 2024. UpdraftPlus allows to restore, fast and easy, all the website components after unlucky updates, tests, hacking, or from a clean WordPress install. The Free version creates backup of everything in WP’s content directory: database, plugins, uploads, themes, etc. The storage locations are: the “wp-content/updraft” folder by default, non-encrypted FTP, and popular cloud storages. You can perform backups manually, choose a predefined schedule, select website components, and migrate via backup and restore. The Premium version includes absolutely everything related to WordPress backup and migration: all directories on your server, site-to-site connection, backup to multiple locations, manual schedules, automatic and incremental backup, and much more. The Personal plan costs $70 per year and covers 2 sites. To summarize, I use UpdraftPlus already for many years in different setups, and it did not fail to restore the site even once.
SEOPress: search engine optimization, Free and Pro
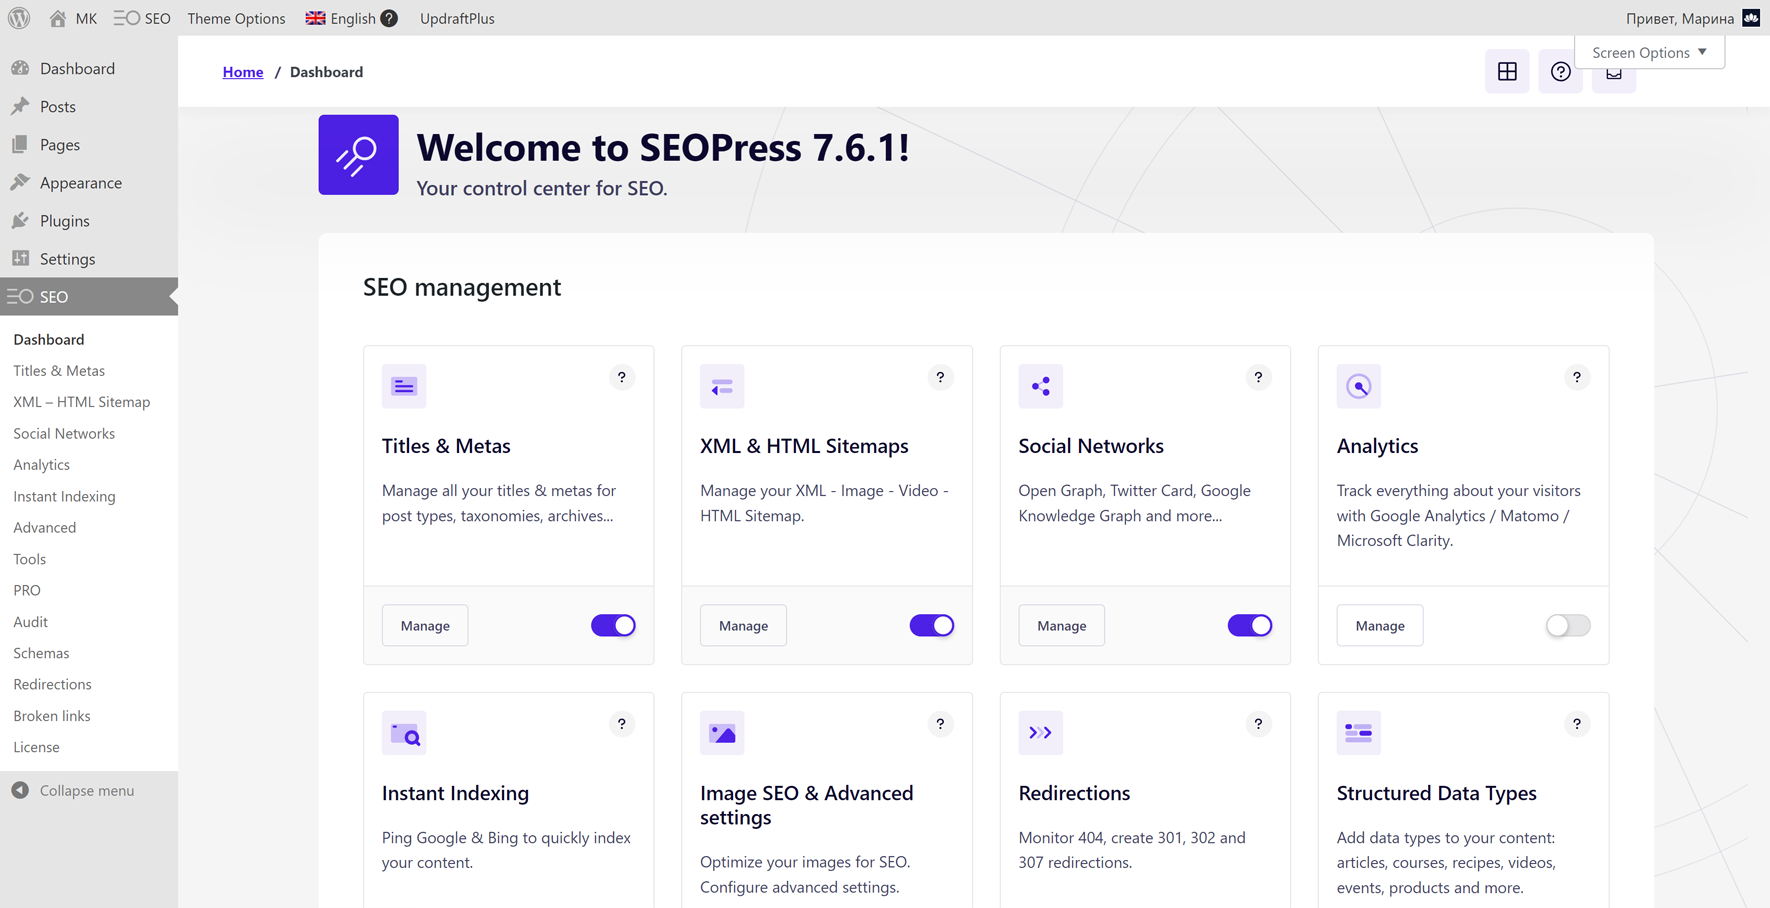
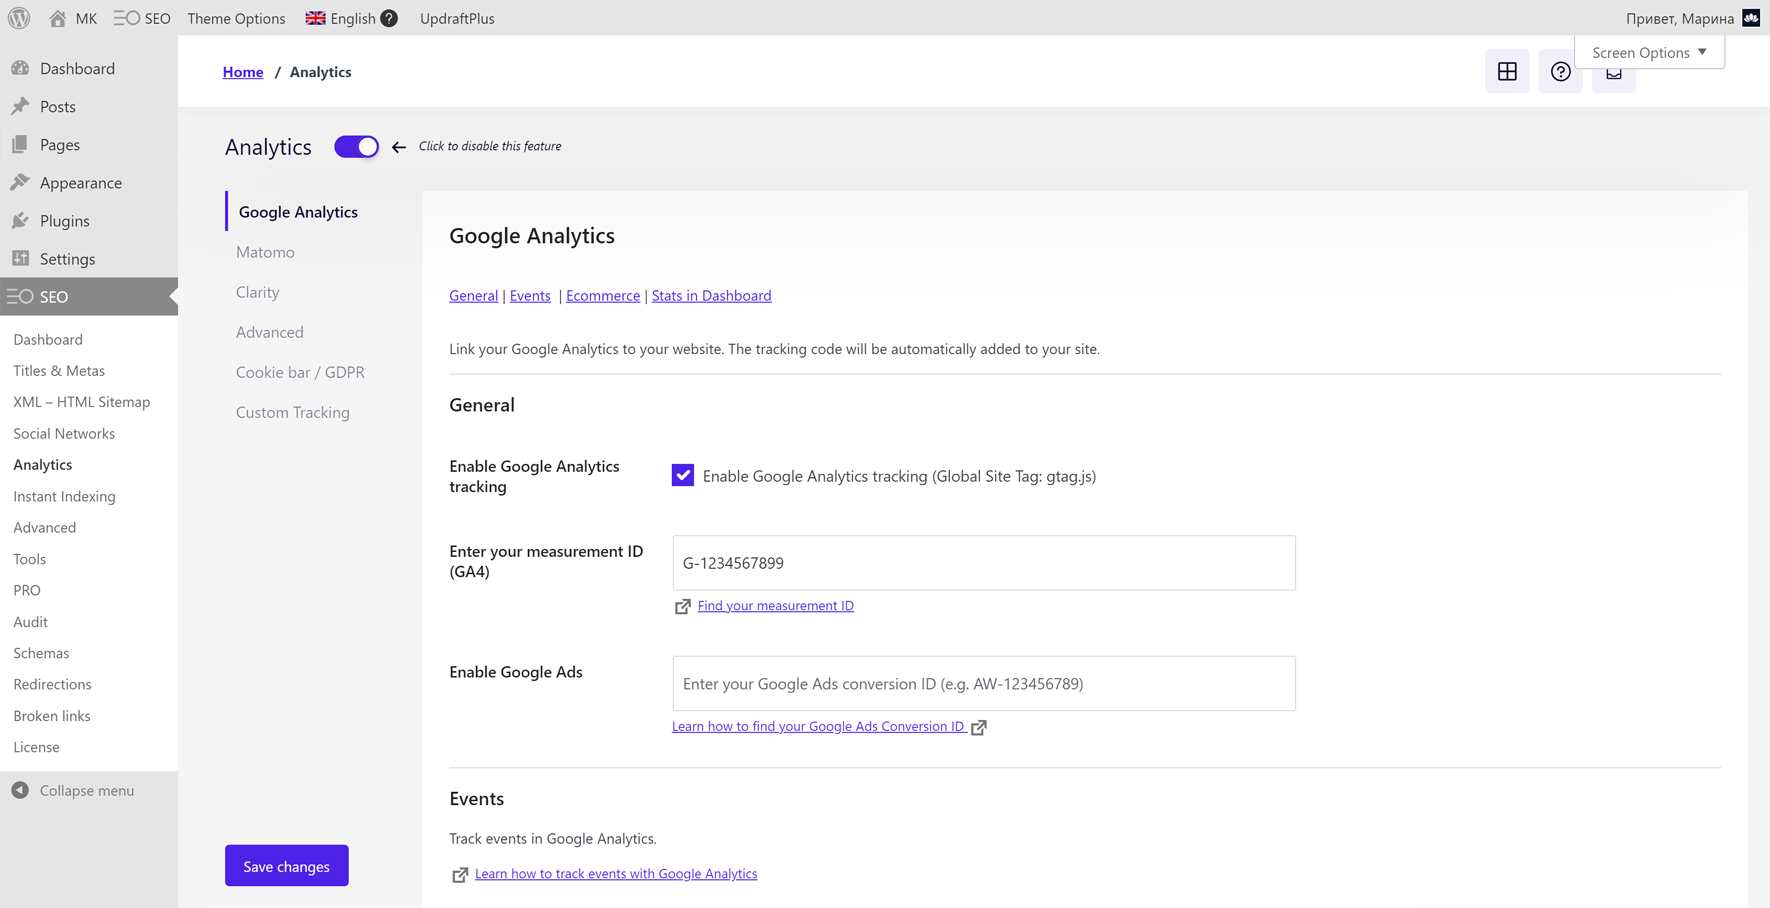
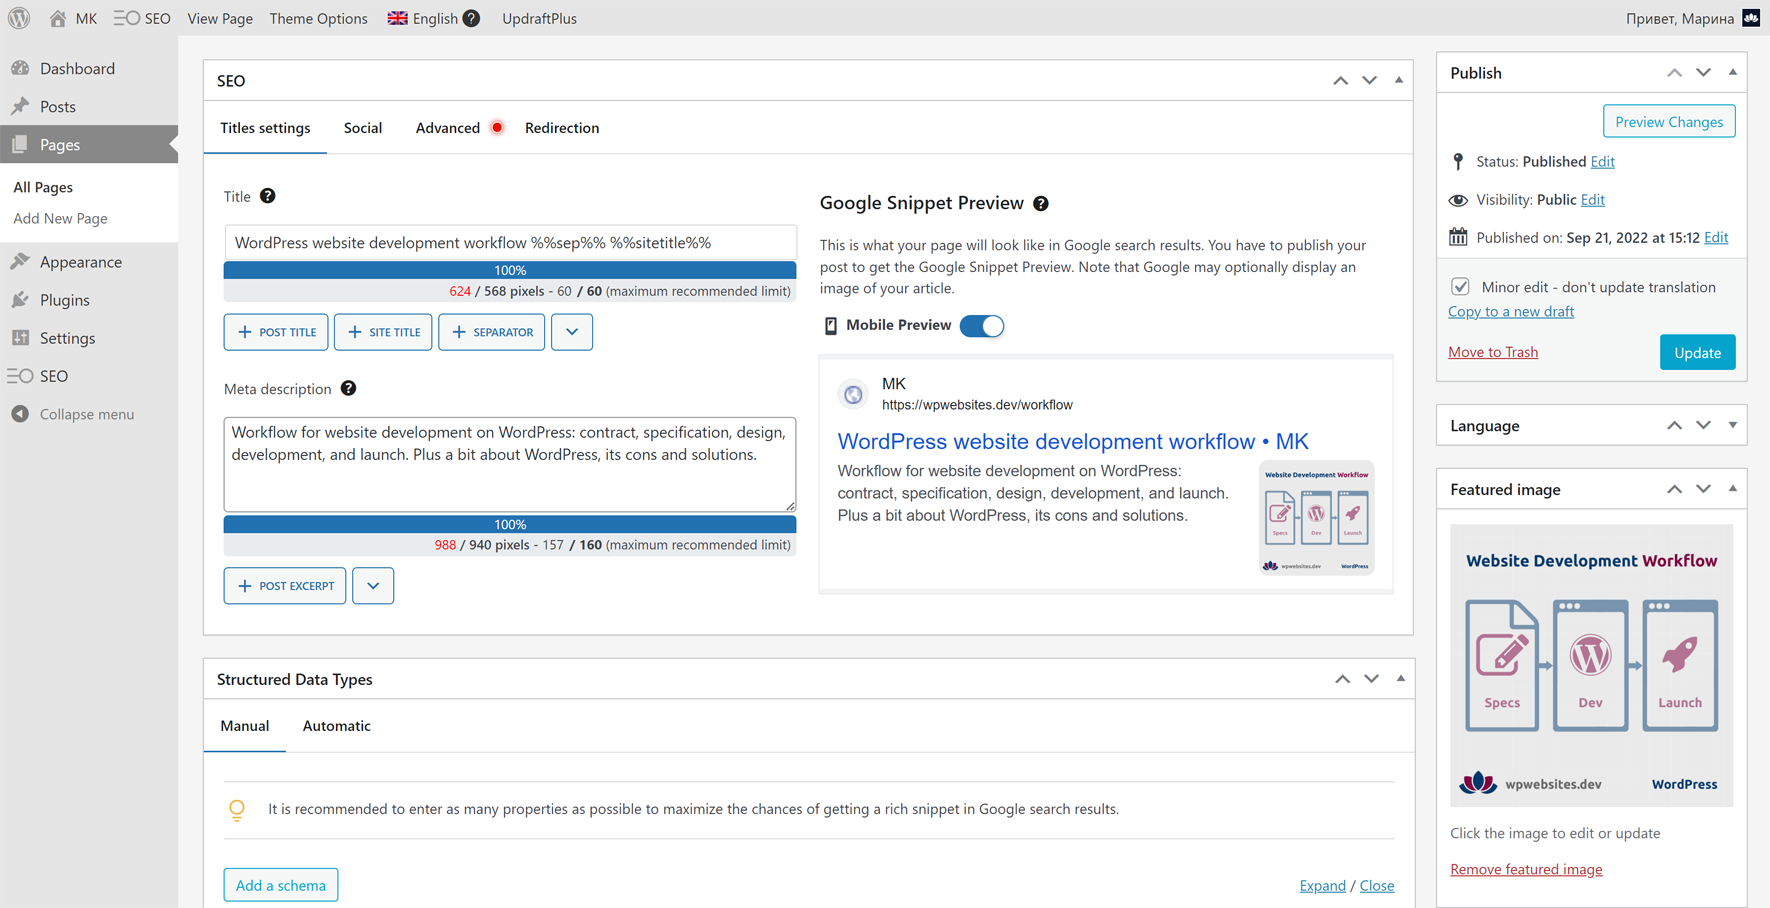
SEOPress won bronze at the WP Awards 2024 in the SEO Plugins category. Having tried many SEO solutions for WordPress myself, I also settled on SEOPress. The reasons are: it is full of features and has clear interface without ads; it is integrated with many plugins and builders, including WPML and WP Rocket; it is lightweight and you can disable unused modules; plus the all-inclusive Pro version is the best deal on the market for $49 / year / 1 site. SEOPress Free includes all the needed features for a solid SEO of your site: titles and metas, XML and image sitemaps, content analysis with unlimited keywords, redirections and canonical URLs, custom Facebook and X cards, and much more. The free version already allows to specify the general schema markup for your Google Knowledge Graph. However, if you need a more sophisticated structured data generator, with automatic and manual schemas, you should take a look at what SEOPress Pro offers.
Overview of SEOPress Pro features: schemas, AI, redirections, etc.
Manual schemas: In SEOPress Pro, a manual schema is applied to a page individually. You select the structured data type for the post in the corresponding list, and then fill in all the appeared fields, without the need to code. The available data types are: Local Business, Service, Article (WebPage), Event, Job, Product, FAQ, How-To, Review, Recipe, Video, Course, Software Application, and Custom. The last Custom option allows to add your own JSON-ld code within the ‹script› tags.
Automatic schemas: An automatic schema is defined independently of any page on the Schemas screen of SEOPress Pro, and then it is applied globally by publication type (e.g. to all posts). When creating an automatic schema, you first select the data type as with manual schemas, but then for each field you choose an option in the list, containing: many predefined variables (e.g. “Post Title”), then “Manual text”, and “Manual text on each post“ at the end. All the “Manual text on each post” fields will be editable per publication, while the rest of the fields will be hidden and generated automatically from publication data.
AI: Integration of artificial intelligence into SEOPress Pro is the newest feature, which is still under active improvement. Currently, you can automatically generate meta title and description for a post, page, or custom post type based on its content, individually and in bulk, and generate alt texts for your images. To use AI, you will need an OpenAI account and a certain credit balance on it.
Redirections: SEOPress Free already includes decent redirection functionality allowing to redirect post, page, taxonomy and post type to another URL, as well as attachment pages to the post parent or to the file URL. The Pro version offers a full scale redirect manager with 301, 302, 307… redirects, regular expressions, automatic and conditional redirects, and importing.
Other features: In addition to those described above, SEOPress Pro includes a great deal of other premium tools: robots.txt and .htaccess editor, Local SEO and WooCommerce SEO, video and news sitemaps, keywords from Google and internal linking suggestions, broken links checker and 404 monitoring, GA stats in the dashboard, breadcrumbs, white label, and a lot more.
A quick comparison of SEOPress and Yoast SEO plugins
SEOPress Free vs Yoast SEO Free: Free versions of both plugins cover all the essential SEO functionality, however, there are some differences in extra features. SEOPress allows to optimize for multiple keywords; free Yoast SEO – just for one. None of the Yoast versions includes Google Tag Manager, always available in SEOPress. On the other hand, breadcrumb navigation and robots.txt / .htaccess editor, included in Yoast, are provided only by SEOPress Pro. Remark: Yoast edits your actual robots.txt, while SEOPress creates a virtual file, which does not bypass the real one if you have it. Both plugins configure your Google Knowledge Graph, yet, Yoast includes a bit more structured data functionality. You can select a page type and an article type in two lists for each publication; after that, the rest of your schema is generated automatically and invisibly, hence, you cannot customize the markup (via API you can). Lastly, there are no ads in SEOPress, and quite a lot – in the free version of Yoast.
SEOPress Pro vs Yoast SEO Premium: Premium version of Yoast, which costs $118.80 per year for one site, includes: optimization for multiple keywords, video and news sitemaps, internal linking suggestions, broken links checker, related keyphrases from Semrush, Local SEO, and redirect manager. To have WooCommerce SEO, you have to buy the corresponding separate plugin. The cheapest Pro version of SEOPress for 1 site costs $49 per year, and includes all the listed features (with keyword suggestions from Google) plus: advanced schemas, Local SEO, WooCommerce SEO, OpenAI, GA stats, PageSpeed Insights, white label…
Conclusion: The presented above three paragraphs are by far not an overall comparison of the two plugins; I just highlighted the most notable differences from my own experience. If you google for “SEOPress vs Yoast SEO”, you will find several articles completely dedicated to the topic. To add and sum up, Yoast gives much attention to text optimization, while SEOPress provides more diverse SEO instruments. I would advise to try free versions of both, and decide whose approach to WordPress SEO is more appealing to you. Take into account, that you can import data to SEOPress from Yoast SEO, but not vice versa.
Wordfence: website security and firewall, Free and Premium
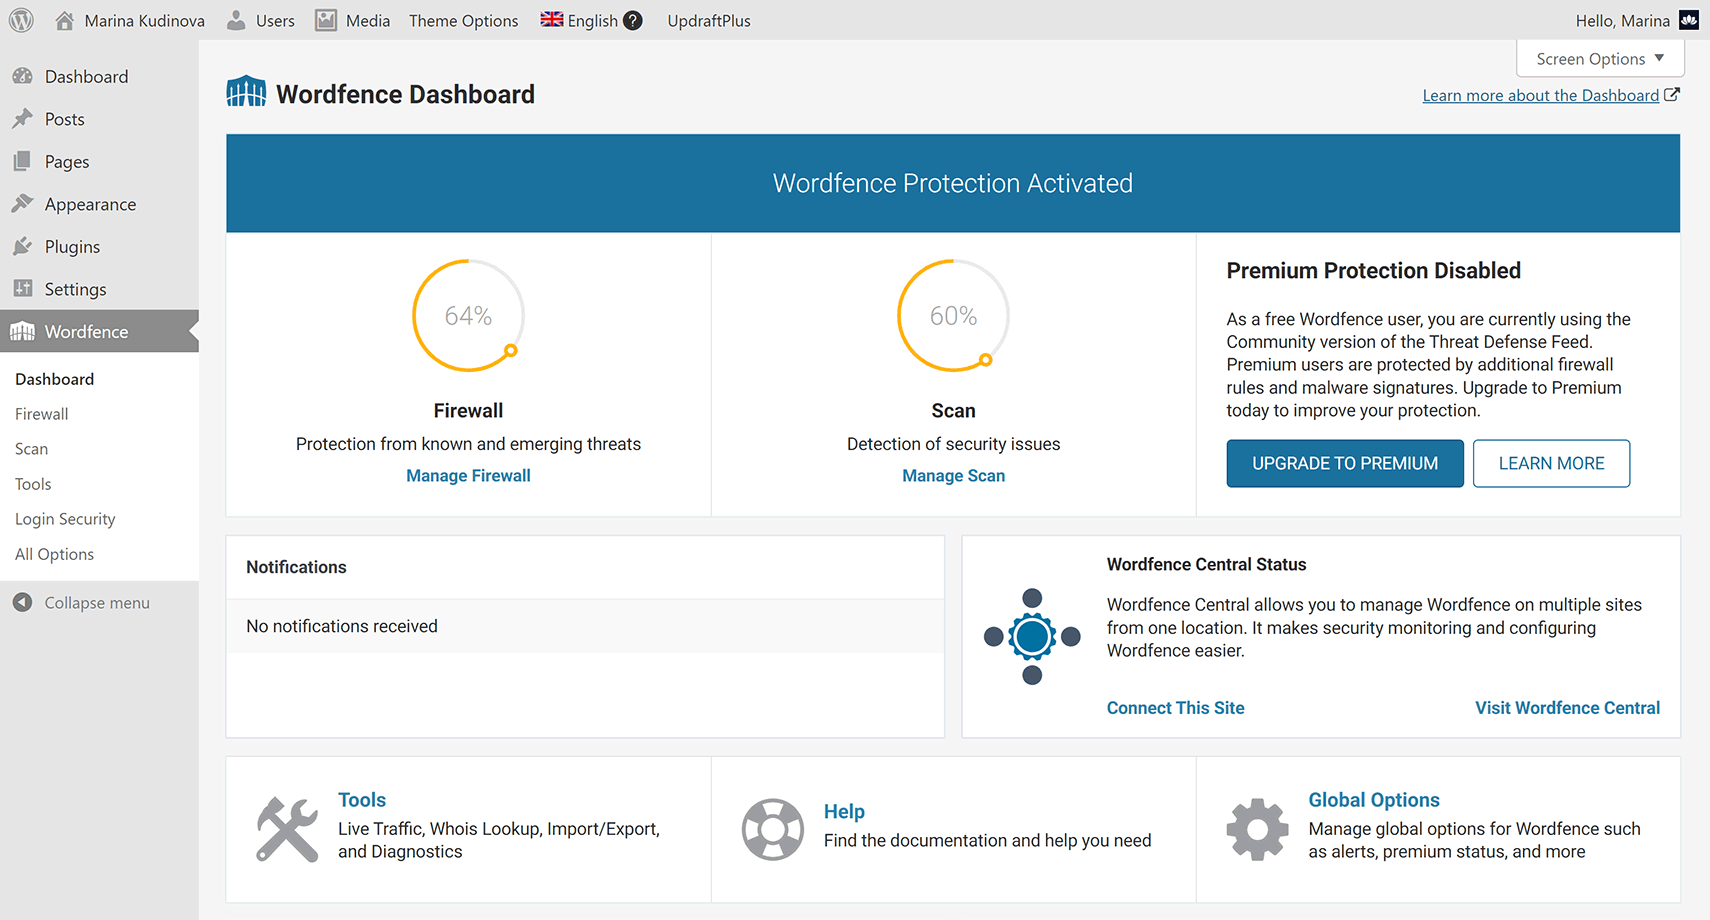
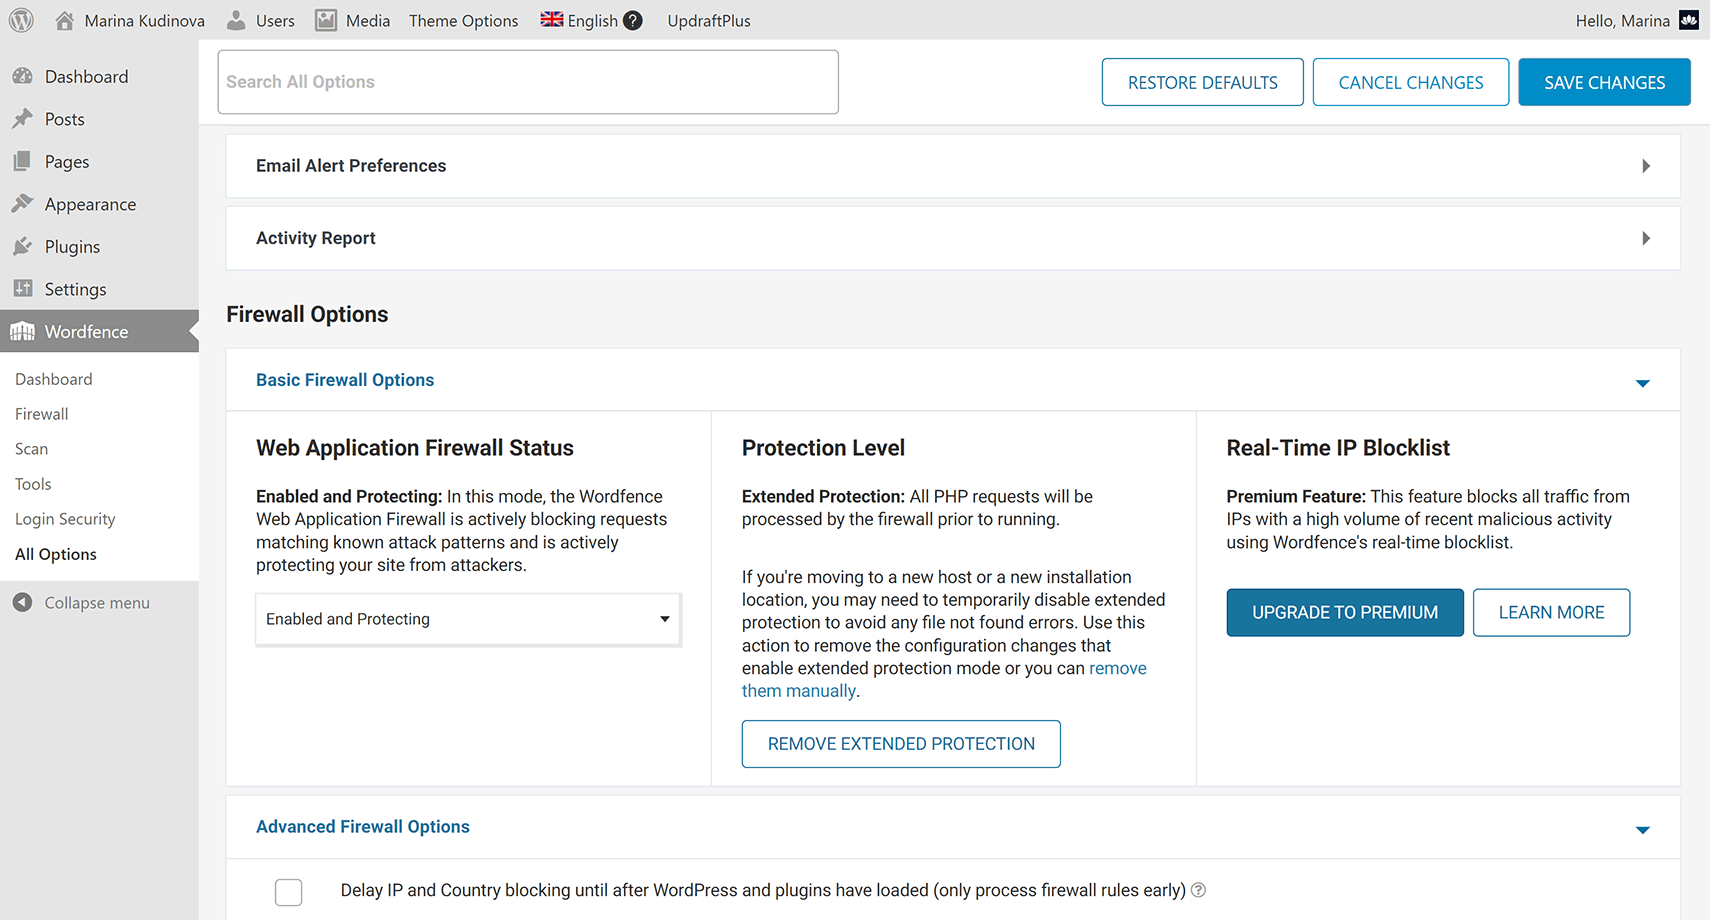
Wordfence, ranked #4 in the WP Awards 2024 across all categories and a long-time stable leader in the Security Plugins category, is widely recognized to be the best security solution for WordPress. Wordfence currently protects more than 4 million websites. The plugin provides: web application firewall, malware scanner, plugin and theme vulnerability monitoring, file change detection, intrusion alerts, rate limiting, brute force protection, and login security. Wordfence is easy-to-use, includes an onboarding wizard, and performs firewall optimization upon install to activate the “Extended Protection” mode. The latter means that the firewall will load on your site before the WordPress itself or any other files that may be vulnerable. All the aforementioned features are included in Wordfence Free, which, in my opinion, is absolutely sufficient for personal blogs. However, websites using the free version receive the latest updates of firewall rules and malware signatures with a 30 day delay. Hence, for commercial websites, I’d recommend to use the premium version of the plugin.
Wordfence Premium: real-time firewall rules, malware signatures, IP blocklist...
Wordfence Premium costs $149 per year for one site, and includes: real-time updates of the malware signatures and firewall rules, continuously updated blocklist of the active malicious IP addresses, advanced country blocking options, ticket-based support, and additional scan checks: for reputation of your site (if it is on any blacklists), whether your site is “spamvertised” (the site is being included in spam emails), and whether your IP address is generating spam (e.g. when another site on a shared hosting is infected). To sum up, with Wordfence Premium, you can be completely sure that your website is well-protected.
WordPress login security options: Wordfence and WPS Hide Login
Wordfence offers two login security options: two-factor authentication, i.e. 2FA, and reCAPTCHA, which can be used together. 2FA involves an additional gadget, e.g. mobile phone, and an installed on it authentication app, e.g. Google Authenticator. To log in with 2FA enabled, you need to enter your username and password as usual, but then you will be asked to enter the code from the authentication app. The code changes every 30 seconds. reCAPTCHA, on the other hand, doesn’t require to do anything different from usual. Google’s reCAPTCHA v3, implemented by Wordfence, automatically calculates a score for each user and decides whether it is a human based on the set threshold.
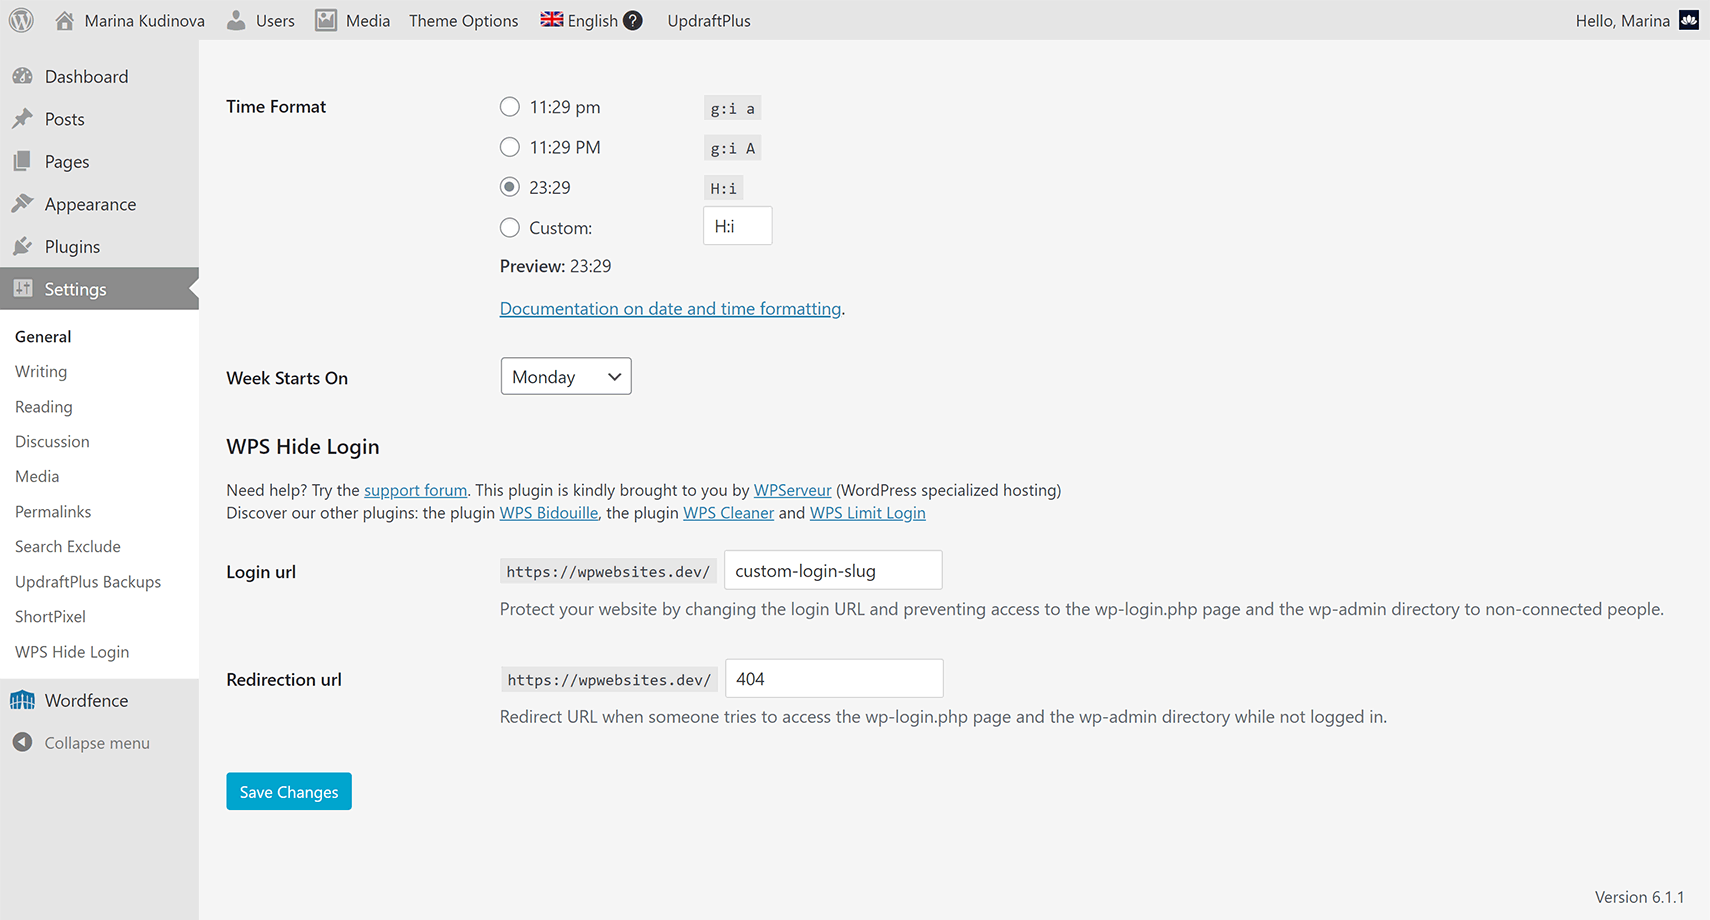
Yet, the main problem with WordPress login security is that the standard login URL is generally known. This makes brute-force attacks possible, which involve ‘guessing’ the credentials to access the dashboard. Wordfence Brute Force Protection module allows to set a limit on login failures and lock the user. But there is an even more reliable approach: a custom login address. I always use Wordfence in combination with WPS Hide Login. This is a free plugin that lets you change your login URL and thus zero brute-force attacks completely. WPS Hide Login appends its tools at the bottom of the Settings ↦ General page. There you can specify a custom slug instead of wp-login.php, and set the Redirection url, whereto the wp-login.php and wp-admin will be redirected when not logged in. Based on my testing, WPS Hide Login is compatible with 2FA and reCAPTCHA of Wordfence.
Remark 1: If you use WPS Hide Login and WP Rocket, you do not have to do anything, since the plugins are fully compatible. However, if you use another caching plugin, you should add the custom login URL to the list of pages not to cache.
Remark 2: The only problem with WPS Hide Login is that the Redirection url setting quite often doesn’t function properly. In some setups it works for the wp-admin directory, but the wp-login.php page is always redirected to some default 404 address. Thereto, depending on how your 404 is made, WPS Hide Login might pull a badly rendered page. In such a case, I manually redirect wp-login.php to proper 404 via .htaccess. Sub-remark: don’t do the same to wp-admin, since it is used when working in the dashboard. To redirect wp-login.php, add the following code to your .htaccess right below the # END WordPress line:
Redirect 301 /wp-login.php https://yoursite.com/your-page-404
Final remark: If you forgot your custom login URL, just go to /wp-content/plugins/ directory on your web server and delete the wps-hide-login folder; don’t forget to remove the 301 redirect from your .htaccess file if you had to add one. After that you will be able to log in through the standard wp-login.php path and reinstall the WPS Hide Login plugin.
WP Rocket: speed and performance, premium
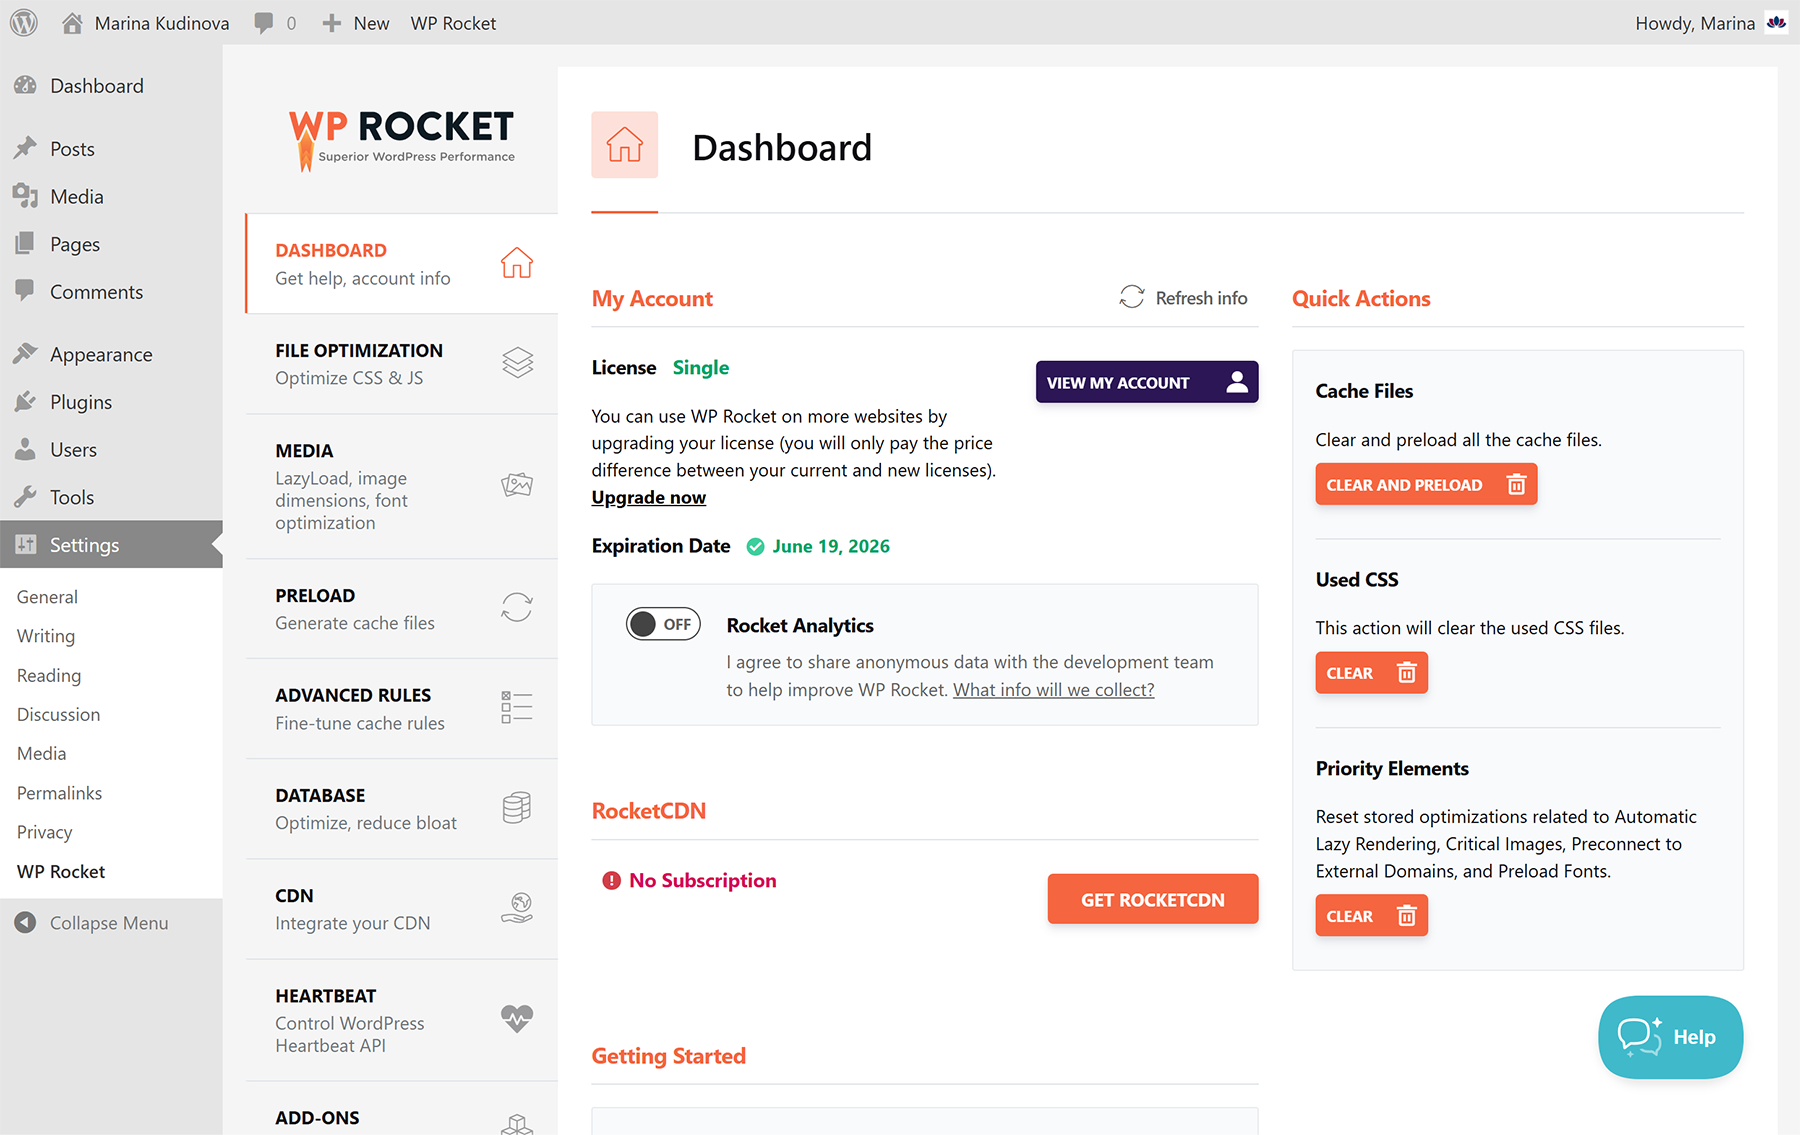
WP Rocket, which won gold at the WP Awards 2024 for best performance plugin and has over 5 million installations, is consistently rated to be the No.1 caching plugin for WordPress. WP Rocket is very easy to use and set up, it applies 80% of web performance best practices upon activation, and is compatible with most themes and plugins such as WPML, SEOPress and Wordfence among others. Included features go beyond the standard caching plugin. In particular, WP Rocket provides: page and browser caching, cache preload, eCommerce optimization, WebP serving, automatic CSS and JS minification and combination, self-hosted Google fonts, database cleanup, and a lot more. In short, the plugin will definitely improve your PageSpeed score to a large degree. In addition, PageSpeed Insights automatically detects whether WP Rocket is installed on your website and offers specific recommendations for plugin settings.
WP Rocket pricing and licenses: Single, Plus, Multi
WP Rocket is a premium plugin, that is, there is no free version available. At the same time, the cost is quite affordable and there are different pricing plans depending on how many websites you need to speed up. The Single plan costs $59 per year and includes product updates and support for one site. The Plus plan for $119 a year covers three sites. Whereas Multi licenses for ≥50 sites start at $299 per year. Besides, WP Rocket offers a 100% money-back guarantee within 14 days, and, periodically, 20% discount.
About the persistent object cache and when not to use it
Persistent object caching is in fact storing the results of frequently repeated database queries in an object store. This might greatly reduce the load on the database thus decreasing the server response time. If you run a large-scale, high-traffic, and dynamic website, you must use object caching based on a proper hosting configuration. WP Rocket doesn’t create this type of cache, so you’ll need an additional plugin to implement it: details here. However, if you are on a shared hosting, most often the best option in terms of site speed is not to use the object cache at all. Hence, in such a case, WordPress will still display the “You should use a persistent object cache” recommendation on your Site Health screen. To disable this health check and get the “Great job!” smile back, add the following code to your functions.php file:
// Remove the WP site health check for persistent object cache

function prefix_remove_php_test( $tests )
{ unset( $tests['direct']['persistent_object_cache'] ); return $tests; }
add_filter( 'site_status_tests', 'prefix_remove_php_test' );
Recommended setup of must-have WordPress plugins
To conclude, I summarize in a table my favorite must-have WordPress plugins. All the plugins are compatible with each other, and supported by most WordPress themes and builders. Hope this post helps you choose the perfect combination to meet your budget and requirements.
| Plugin | Features | Versions | Best Plan | Cost | Sites |
|---|---|---|---|---|---|
| Imagify | Images | Freemium | Monthly Growth | $4.99 / month | Unlimited |
| UpdraftPlus | Backup | Freemium | Premium Personal | $70 / year | 2 websites |
| SEOPress | SEO + schemas | Freemium | SEOPress PRO | $49 / year | 1 website |
| Wordfence | Security | Freemium | PREMIUM | $149 / year | 1 website |
| WP Rocket | Performance | Premium | WP Rocket Single | $59 / year | 1 website |
In addition, I advise to reinforce Wordfence with the free WPS Hide Login plugin. And, last but not least, if you need customization of the CMS itself, any theme or plugin, Codeable is the best platform to hire vetted WordPress developers for a project of any complexity. ■
28.01.25 ⁕ Marina Kudinova

